
Table of Contents
Popular this week
Feb 4, 2026
4 min read
A faster way to manage your bills with Quick View
“Quick view makes approvals faster, I save at least 20 seconds per bill” - Emily H
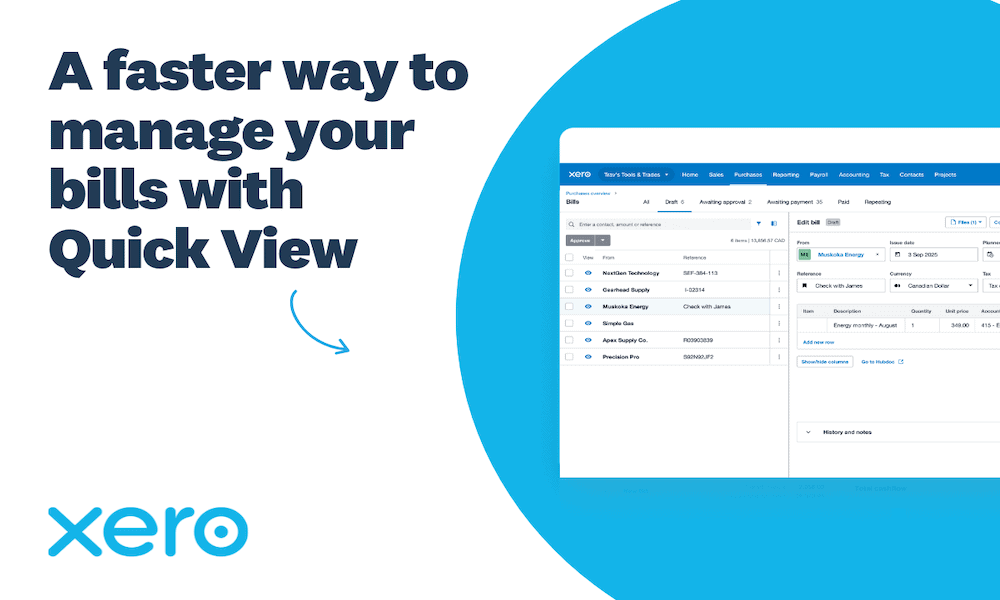
We are excited to share a major update that changes how you manage your daily bills in Xero. You’ve told us you often open dozens of browser tabs just to make simple edits when managing a lot of bills. This old and fragmented workflow slowed you down and could even lead to frustrating system crashes. To solve this problem, we’re moving to a new and unified experience that keeps you on one screen.
Introducing Quick View as your new default
Starting today, clicking a bill from the ’Bills to pay’ list view will open the new Quick View panel. This split-screen feature lets you view and edit details so you can approve bills without ever leaving your list. You can also instantly change your supplier details, fix payment dates, or update specific line items. Rest assured, you can still see the full page view by opening a new tab or accessing bills through your Contacts and Reports or through a handy link at the bottom of the Quick View Panel.
Why we made this change
Processing bills shouldn’t slow you down. We’re always looking for ways to streamline your workflows, and Quick View does exactly that. Customers using this feature tell us it saves them “20 seconds per bill” – time that adds up fast when you’re working through multiple bills at once. By keeping everything on one screen, we stop the constant clicking back and forth between different tabs.
What you can do in Quick View
The modernized panel includes several highly requested features to help you work faster:
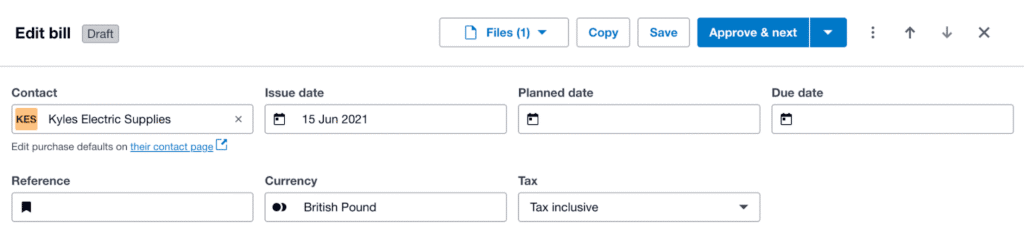
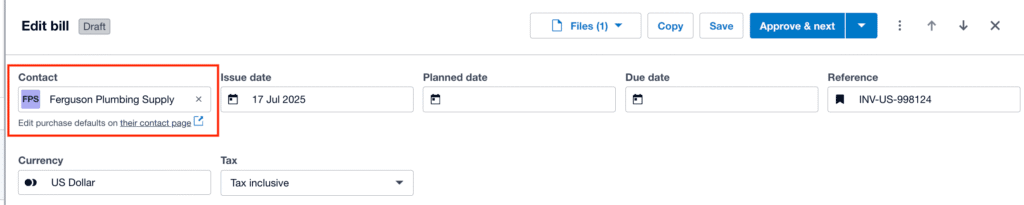
- Direct contact editing: You can now update your contact information or change contact details right inside the bill view.
- Smart cash flow with schedule payments: Use the new planned date field to schedule your payments and manage your business cash flow with ease.
- Instant payments: If you’re in the UK or US, you can pay your bill right from the quick view to save yourself even more time.
- Purchase defaults: You can now change your supplier’s purchase settings, specifying account codes, tracking categories, and more, streamlining your bill creation process – accessed via the “Edit purchase defaults on their contact page” link.
- Fast navigation: You can now move through your entire bill list quickly by using the new arrow buttons at the top of the panel.
- Custom layouts: You can now show or hide specific columns in the line item grid and even adjust the split-screen size to fit your monitor.
Looking ahead
We plan to update the full-page view soon so you can enjoy these same great benefits on that screen too. This update is just the first step in our daily work to make managing your bills much easier for you. Our main goal is to give you an easy tool that puts you in total control of your business’ cash flow.
Comparison: What is changing?
To help you understand the transition, here is a breakdown of how your experience is changing:
Opening a Bill
- Old way: Clicking a bill triggered a full-page redirect, taking you away from your list.
- New way: Clicking a bill opens Quick View by default, keeping your list visible and accessible.
Screen Layout
- Old way: The screen had a fixed width, an extra “Total” field at the top, and “Go to bill source” took up space in the header.
- New way: Adjustable split-screen with a cleaner header; “Go to bill source” is now neatly tucked under line items.

Editing Options
- Old way: You had a long list of rarely used save options like “Save as Draft” or “Save and Submit for Approval.”
- New way: A simplified workflow that removes clutter and allows you save a bill, and stay, or move to the next bill.
Payment Planning
- Old way: You had to edit planned payment dates from the list view only.
- New way: A dedicated “Planned Date” field within the bill itself to help you plan your bill payment runs.

Workflow Speed
- Old way: You had to click back to the list and select the next bill manually to keep working.
- New way: The “Approve & Next” is now the main choice to help you power through your bill list faster. There are new arrow buttons to speed up how you review bills.

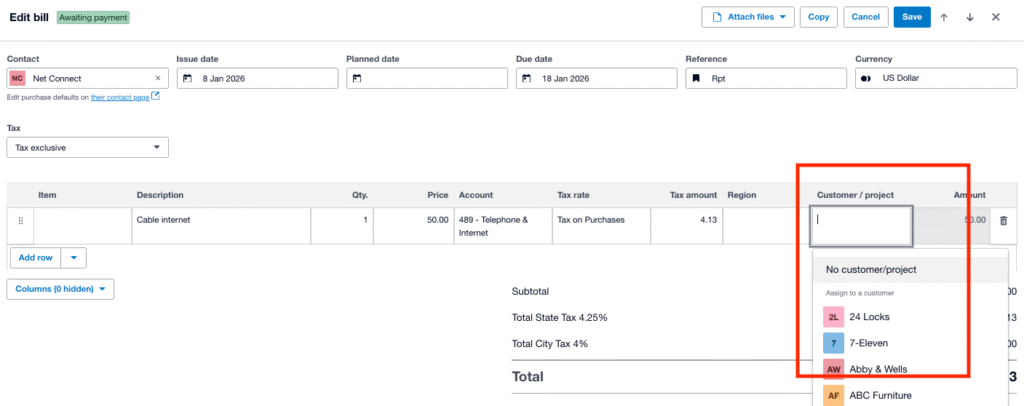
Assign Billable Expenses
- Old way: You had to click on a separate modal and manually assign each project or expense one by one.
- New way: Directly assign the billable expenses in the line item table by setting the customer or project in the line item grid.
Was this article helpful?
YesNo