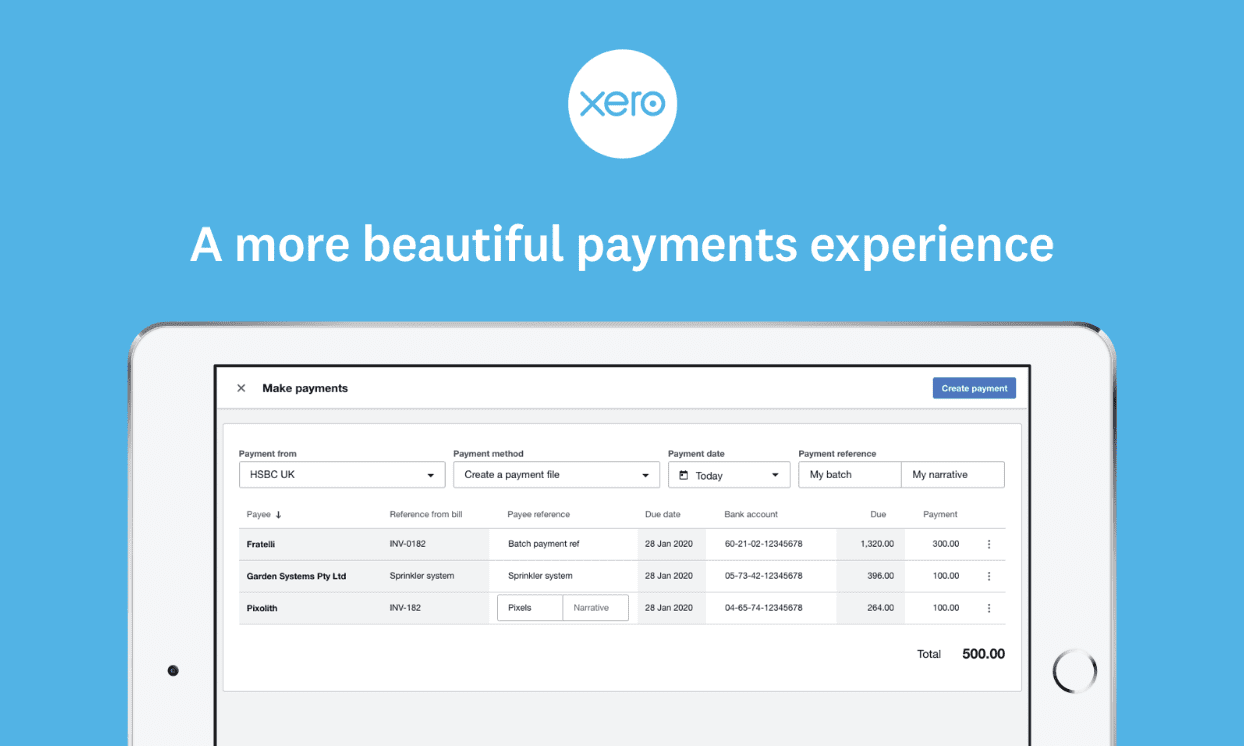
Xero’s interface for making batch payments was one of the first to be built on the platform. As good as it was, it was unable to support new payment integrations such as Pay with TransferWise in the UK and needed a refresh. As a result, we have been working to improve bill payments and reduce friction by developing a new payments interface.
The new bill payments experience replaces the old classic batch payment screens and will gradually be rolled out to all UK businesses on Starter, Standard and Premium plans during the first half of 2020. You might see the new experience the next time you enter the batch payment flow.
What will the new experience offer?
- A more #beautiful experience
- Onboard with our payment partner (TransferWise) without leaving the payments flow
- The choice of multiple payment methods (including Pay with TransferWise)
- Alert to potential payment field errors before a payment is processed
The new interface is easier and more intuitive to use; it has simplified the flow for creating batch payments, while retaining the functionality needed to download batch payment files for bills.
Let’s take a look at the new experience
Start by entering your bills into Xero. Select your bills on the Bills – Awaiting Payment screen and click the ‘Make Payment’ button. This will take you through to the new payments experience where you can pay up to 200 bills at any one time.
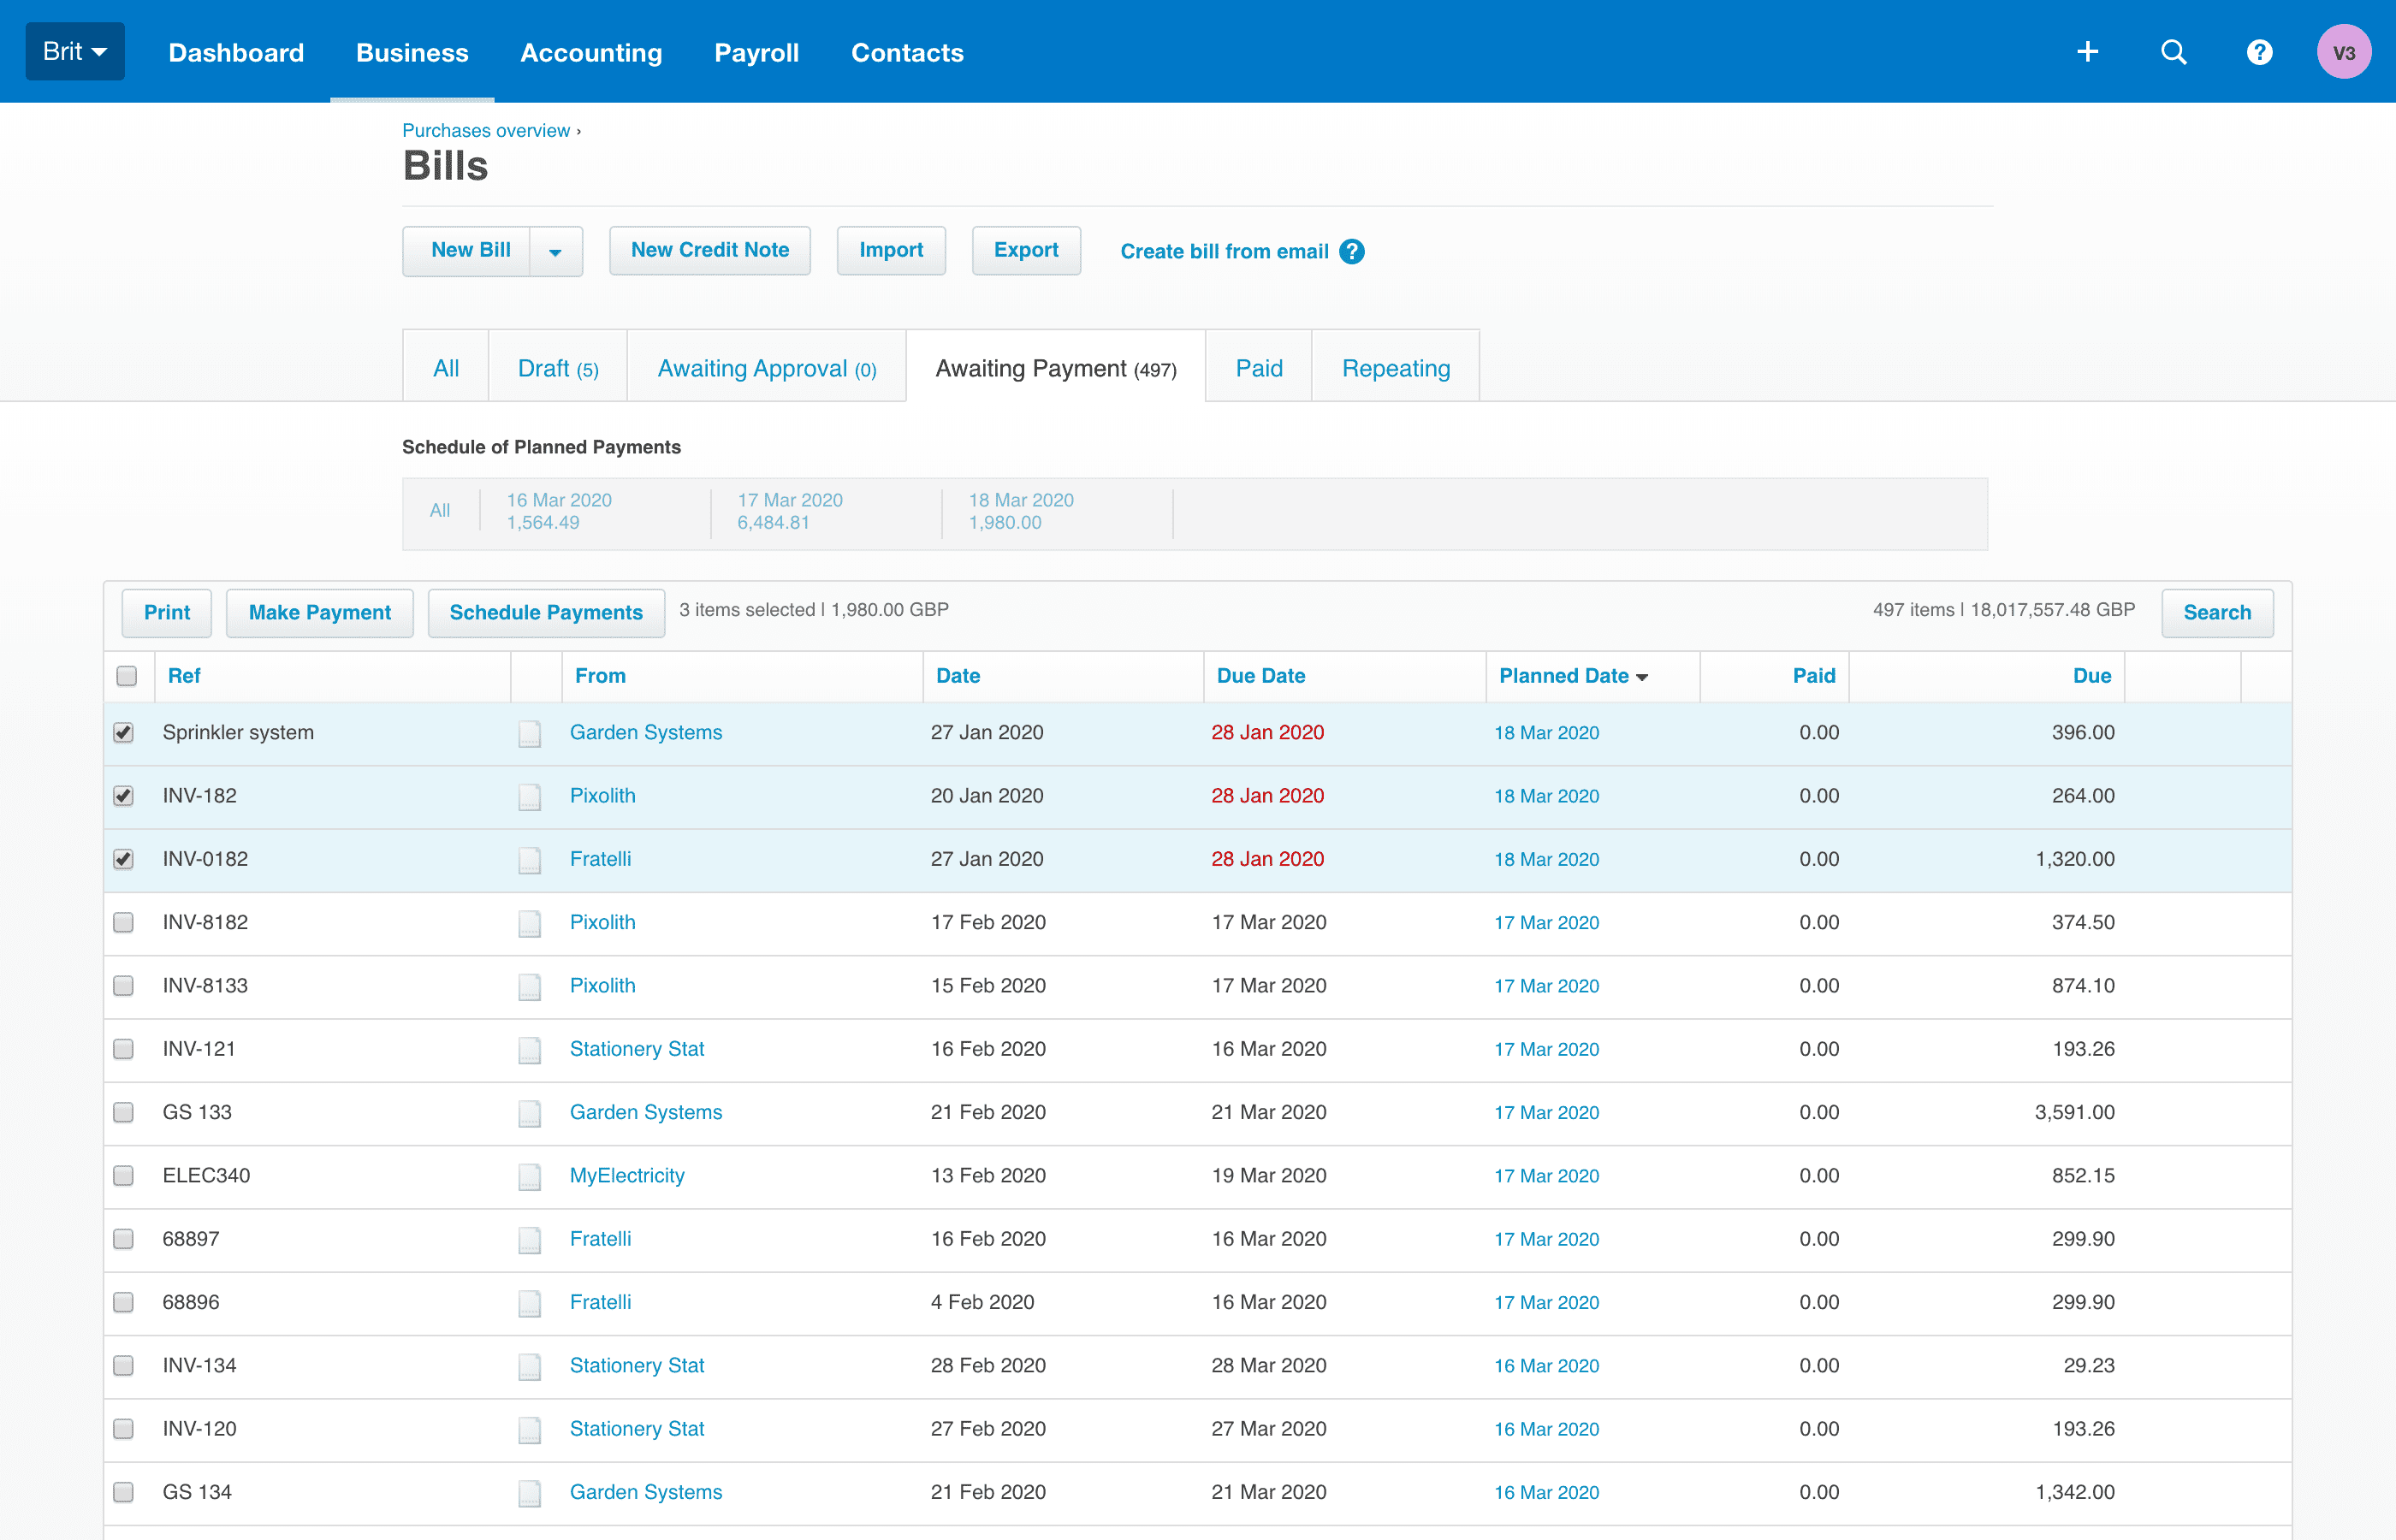
Confirm the number of bills you wish to pay.
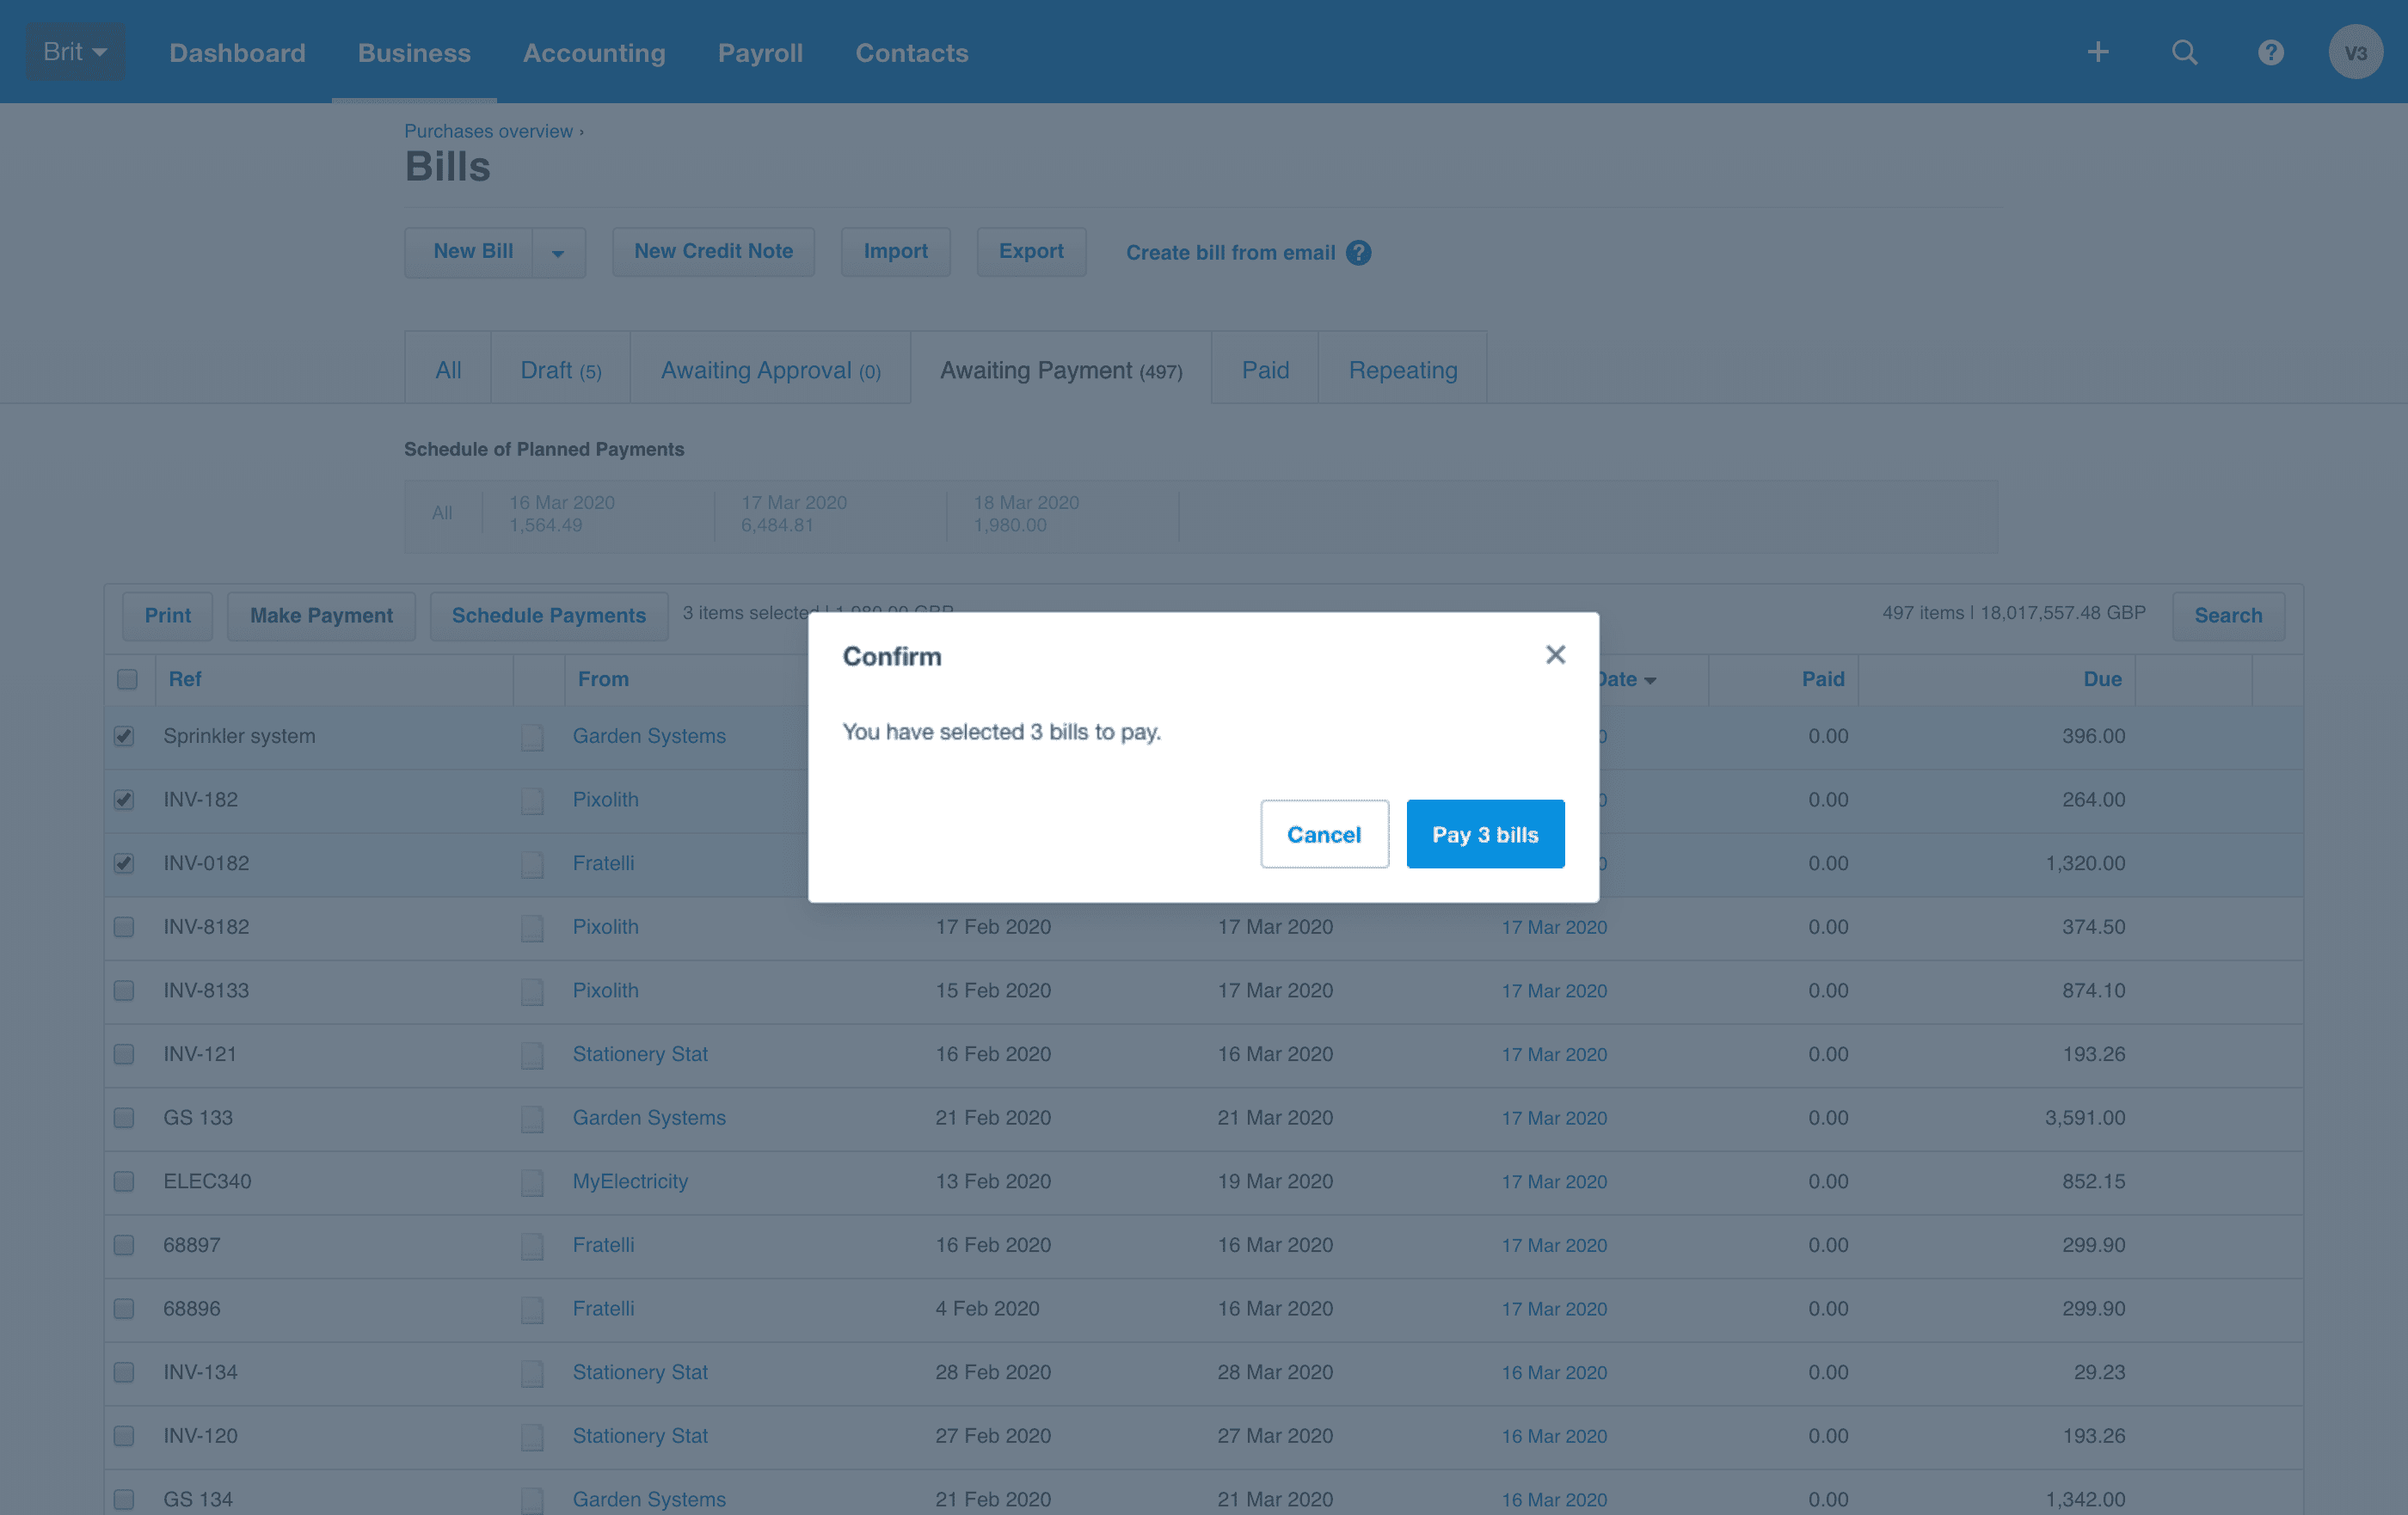
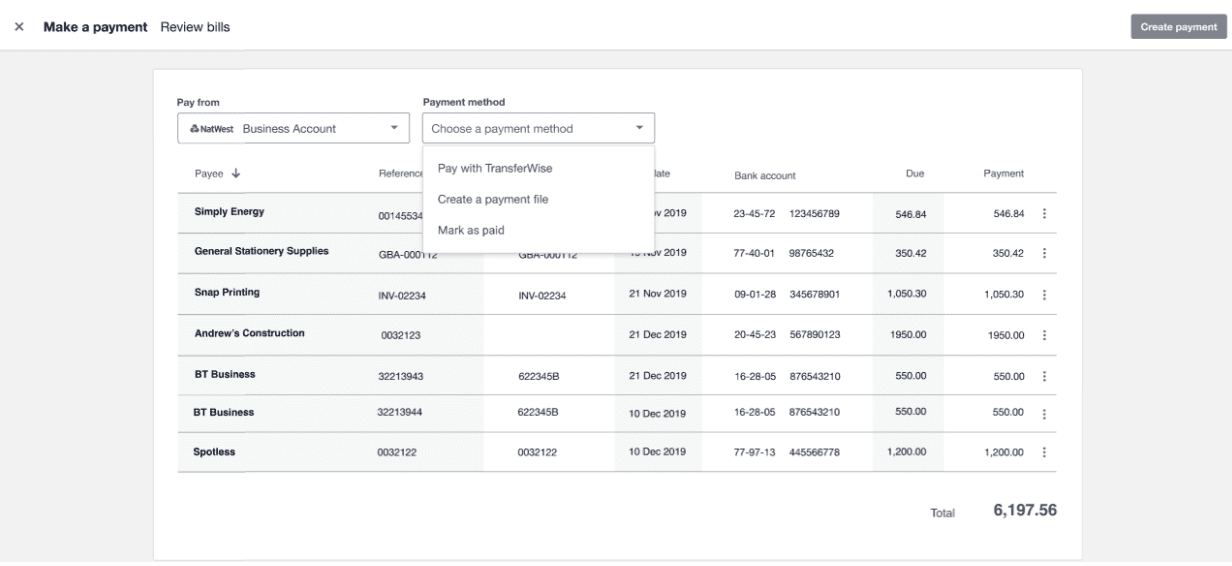
Select your payment account and payment method
Select the bank account you want to make the payment from. Payment details remain read only until the payment account and payment method are selected.
You can also select Chart of Account-type accounts with payments enabled under ‘Other accounts’.

Select your preferred payment method. To create a batch payment choose ‘Create a payment file’. It is also still possible to just mark your bills as paid and not download a batch payment file. To just record payments against your bills for past, present or future payment dates, select ‘Mark as paid’.
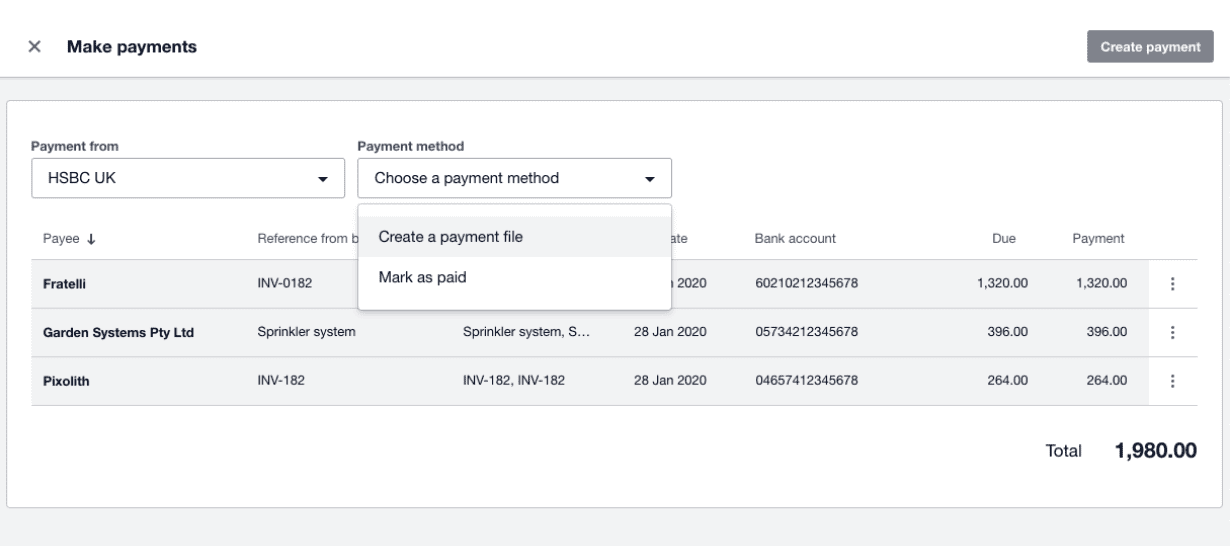
If you’ve added Pay with TransferWise to your Xero subscription this will also appear as an alternative payment method.
Edit your payment details
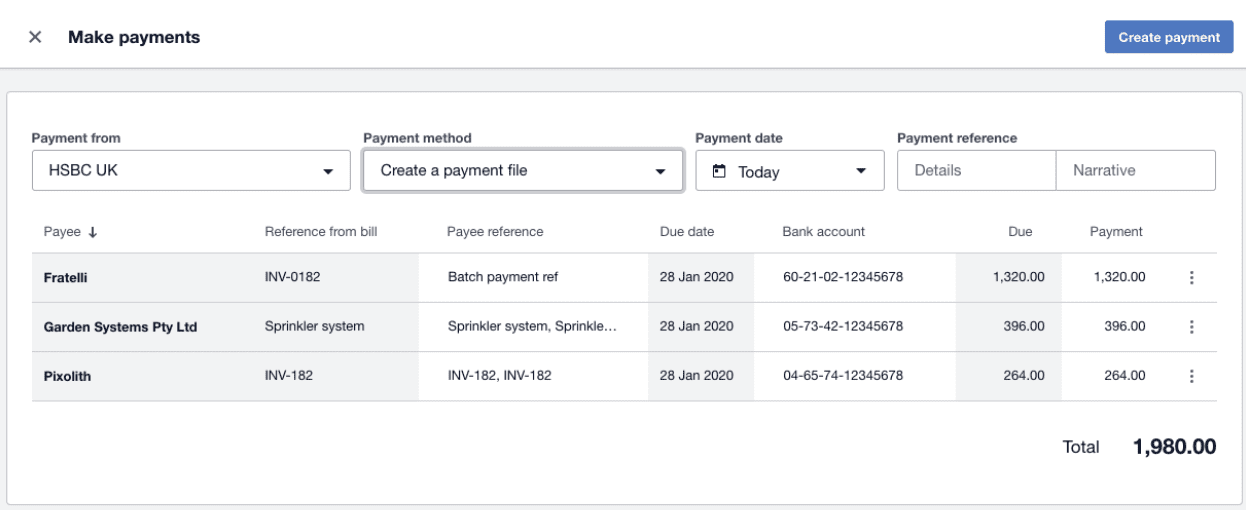
If there’s a default batch payment reference set on the contact in Xero, this will be used. If this is not available, the bill reference will be used instead. If neither are available, the field will be left blank.
On this screen, you can sort by column as well as edit references, payment amounts and payee account numbers (if you have the bank account admin permission) before you create the batch payment.
View summary report and remittance
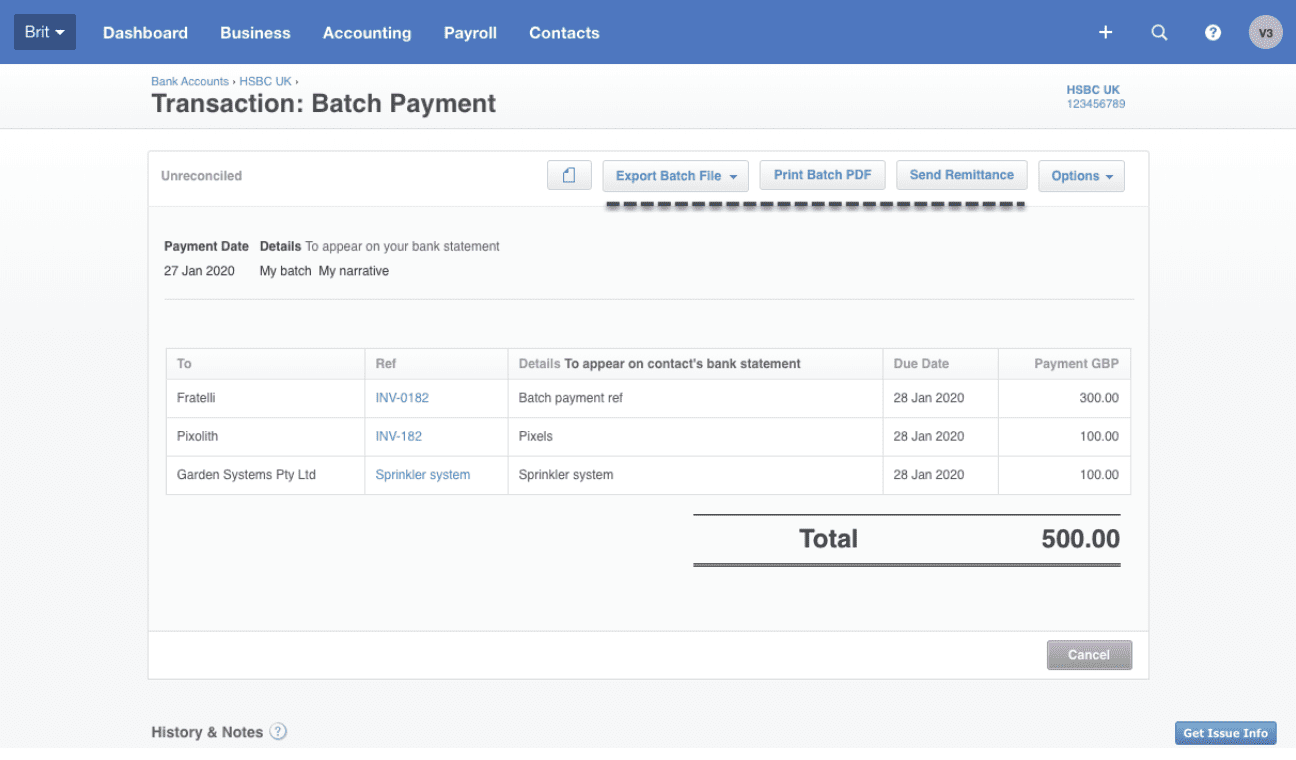
You will see a summary of the payments once you’ve created your payment. From the batch transaction, you can export a batch file, generate a batch summary report or send remittance emails to your suppliers.
To download a batch payment after paying your bills and leaving the flow, find and view the batch payment from the Bank accounts screen, where you’ll have the option to download a batch payment file again.
Find out more
Xero plans to continually improve the bills experience and functionality, and we would love to hear any feedback once you’ve had a chance to try out the new interface. Please leave a comment, or complete the short survey which will appear after using the new bill payments experience for the first time.
Share this article
[addtoany]


